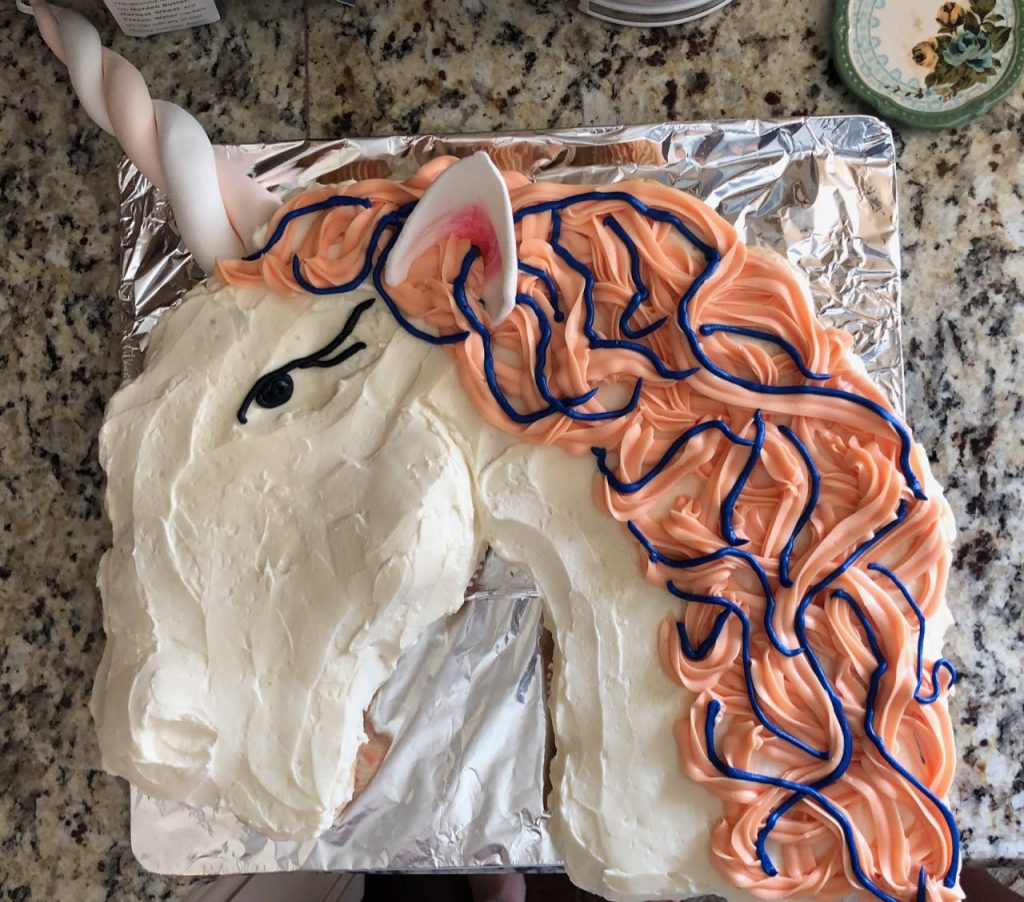
Have you ever flipped through baking magazines wishing you had the time or skill to make one of the gorgeous cakes shown? I sure do, ALL THE FREAK’N TIME! Before kids I had time for fondant classes and truffle creation but now I count remembering the birthday a win.
For the triplet’s 3rd birthday cake my dear friend Hannah, who is a genius baker, suggested we try this unicorn cake out of cupcakes and it was a hit!
Now since most of you aren’t lucky enough to have a personal baker right down the street, I updated the recipe to something that could be done with just hours before the party.

Preparation: A proper workspace should be set up by using the largest flat baking sheet you can find and covering it with some aluminum foil or parchment paper. Once you create the cake, you will not want to move it, so make sure you’re comfortable with presenting the cake on this surface. The cake pan pictured here measures 12″ by 12″.
Cupcake Base: For this unicorn cake design you have two options.
- Make the cupcakes from a box. The goal is to have 24 cupcakes.
- Go by the bakery at your local grocery store and buy cupcakes, then simply remove the frosting they came with. (This was my strategy, NO SHAME Mamas!)
Either way, once you have 24 cupcakes, arrange them in the outline of a horse’s head. Feel free to vary up the flavor of cupcake, as I did here.
Sprinkle Filling: To add the sprinkles to the center of the cupcakes, prior to putting on your base coat of frosting, take a teaspoon measuring spoon and very gently remove approximately two scoops of cake from the center of the cupcake. Now fill this hole with sprinkles of your choice, and if possible, replace the cake top over the whole. If not, you can always place a dab of frosting over the hole when you’re doing your base coat to ensure it stays covered.
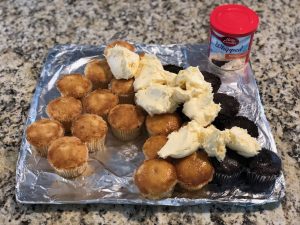
Frosting: Next, find the frosting you would like to use for the base color. In this case, I used 3 cans of Betty Crocker whipped buttercream frosting and started with it at room temperature. This way, it’ll spread more easily and is less likely to tear or shift your cupcakes. You could easily do this with any other color if you desired.
Now spoon your frosting of choice onto the cupcakes. Be sure to be very generous with the frosting because getting that first layer can be tricky. The easiest way to spread is with a cake decorating tool seeing here. But if you’re in a hurry and don’t have one, you could also use a butter knife.
Tips and Tricks:
- Put a base layer of icing on top of each cupcake as you’re placing them in the horse head arrangement. This will allow for the top coat of icing to go on much more smoothly.
- Additionally, a challenge I encountered using the chocolate cupcakes was the top liked to crumble and then you have chocolate cupcake flecks in your wait icing. Again, using a base coat of icing to hold the cupcake down will greatly help with this.
- A final tip is to run your knife or spatula under hot water to warm it up, shake the water off, and then use it to smooth the icing. The final smooth coat of icing, seen here, was done using the spatula under hot water method!
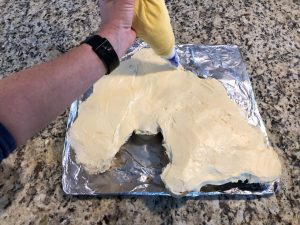
Final Details: Now it’s time to decorate your unicorn. The easiest way is to find pre-mixed colors in the baking aisle at your grocery store, but nothing says you can’t take the whipped buttercream you were using and add your own food coloring if you would like a custom color. It just requires a little extra preparation. Using a piping bag, add the unicorn’s mane, eye, and nose. I recommend using a fine pointed pastry bag for the eye and nose. You could even find some of the gel icing that is very easy to control.
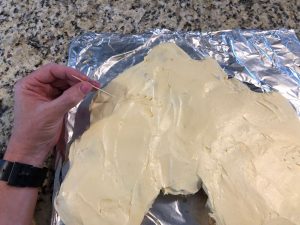
A tip to make sure you create features that you like is to print out a picture of what you want the eye and nose to look like, place it next to your cake, then use a toothpick to draw in the icing to give yourself a line to trace. This way you have a much better chance of ending up with something you like.
Now you have another choice with unicorn cake horn. Pictured here is the super easy marshmallow fondant horn and ear, however a ice cream cone would also make an excellent option in a real pinch!
Marshmallow Fondant:
- 16 ounces marshmallows
- 5 Tbsp water
- 8 cups powdered sugar
- 1/2 cup shortening, melted (more for kneading if needed)
- Place the marshmallows and water in a large microwave safe bowl, heat in the microwave for 90 seconds. Stir until smooth.
- Add to mixer: melted marshmallows, powdered sugar, and melted shortening.
- Knead on low with a bread hook. Slowly increase the speed as it come together. Continue to knead until smooth fondant dough forms. Add more shortening if mixture is not pliable enough. Add more powdered sugar if the fondant dough appears to be too goopy.
- Place fondant on a non stick surface and roll 2 long logs with tapered ends. Twist these together to form the horn. Take a rectangle of 1/4″ fondant and gently form into an ear. Add coloring if desired.




Leave a Reply
You must be logged in to post a comment.